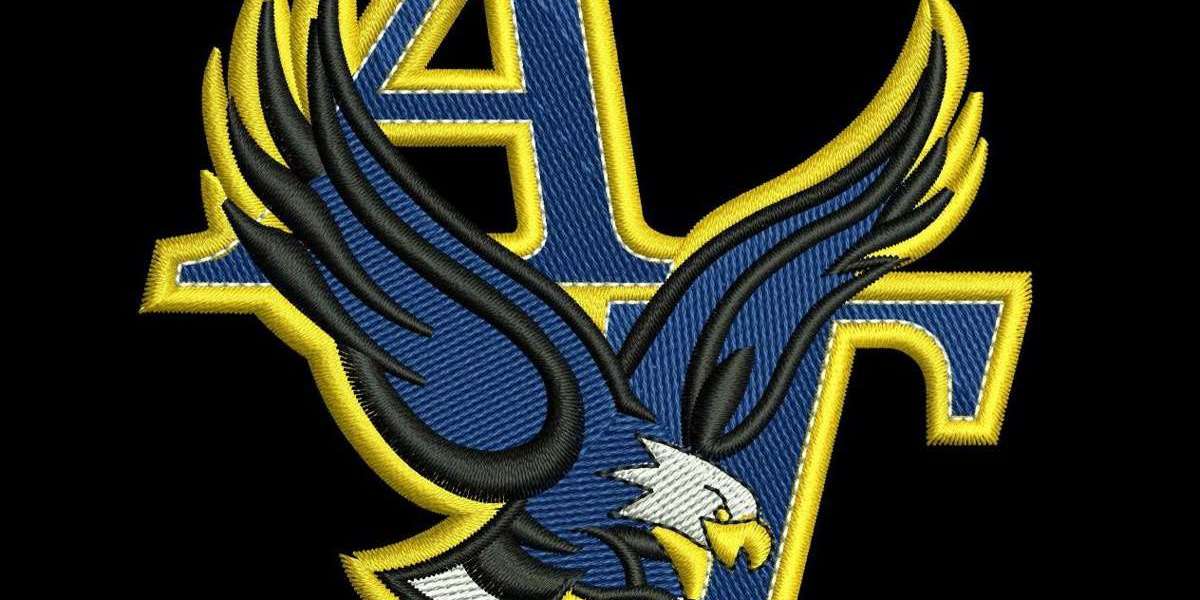

An embroidery machine can't read a JPG. It doesn't understand colors or shapes the way a printer does — all it actually knows is a precise sequence of needle drops, one after another, following exact coordinates. Turning a logo into that sequence is what digitizing actually is, and it's a lot more involved than just "uploading a file and pressing print." Here's what genuinely happens between sending your artwork and getting back a finished, embroidery-ready file.
Step 1: The Artwork Gets Evaluated First
Before anything technical starts, a digitizer looks over the actual artwork. This is where problems get caught early — text too small to hold its shape once stitched, a gradient that won't translate cleanly into distinct thread colors, or fine linework that's going to blur together at the intended size. Catching this now is a lot cheaper than catching it after a batch of shirts is already sitting in a box.
Step 2: Deciding Size and Where It's Going
Placement and size get locked in next, and this changes more than people expect. The exact same logo digitized for a small left-chest spot needs different density, stitch types, and underlay than that same logo blown up for a full jacket back. Garment type factors in here too — a curved cap panel, a stretchy tech fabric, and a stiff canvas tote all require different technical handling even with identical source artwork.
Step 3: Choosing Stitch Types for Each Element
Every part of a design gets assigned a stitch type suited to its shape. Fine text and thin lines usually get satin stitches — tight, parallel threads that produce a clean, defined edge. Bigger filled areas get fill stitches, which cover broad space efficiently. Delicate outlines sometimes use a simple running stitch instead. Getting this assignment right, piece by piece, is genuinely one of the more skill-dependent parts of the whole job — pick wrong and a design ends up looking thin, stiff, or poorly defined once it's actually sewn.
Step 4: Laying Down Underlay
Underlay never shows up in the finished look, but it's doing real structural work underneath. It's a foundation layer of stitching, sewn before any of the visible top stitching, and it stabilizes the fabric so the finished design doesn't pucker, shift, or warp once real thread and tension are involved. Stretchy fabrics generally need heavier underlay than stiff, stable ones — treating every fabric the same here is one of the more common ways a "clean" digital file ends up looking rough once it's actually stitched.
Step 5: Sequencing Colors Sensibly
With stitch types and underlay set, the digitizer plans the order the colors get sewn in. This isn't random — a well-thought-out sequence keeps thread changes to a minimum, which matters for production speed and reduces the chances of something going wrong mid-run on a machine. For a design with a lot of colors, smart sequencing genuinely affects both cost and how long the job actually takes.
Step 6: Dialling In Density and Pull Compensation
Density — how tightly the stitches sit next to each other — gets tuned based on the fabric and the size of whatever's being filled. Too dense, and fabric can pucker or the whole thing feels stiff. Too sparse, and gaps show where solid coverage should be. Pull compensation is a related adjustment, accounting for the way fabric naturally pulls inward as it's stitched — skip that correction and shapes can come out with visible gaps at the edges once tension releases after sewing.
Step 7: Reviewing the Preview Before Anything's Final
Once the file's built, a digital preview typically comes back showing stitch paths, color sequence, and estimated stitch count — a chance to review before anything's locked in. On larger or more complex orders, an actual test stitch-out on real fabric is usually the smart next move, since it catches issues a screen preview simply can't reveal.
Step 8: Making Adjustments Where Needed
If the test sew turns up an issue — density that's a touch off, a color that doesn't quite land right, sizing that needs a small tweak — this is where it gets fixed before full production starts. A Plus Digitizing's custom embroidery digitizing builds unlimited free revisions directly into the process, so an adjustment at this stage isn't treated as an extra, separately billed request.
Step 9: Delivering the Right File Format
Once everything checks out, the finished stitch file gets exported in whatever format actually matches the machine running the job — DST for Tajima and most commercial setups, PES for Brother and Baby Lock, and other formats depending on the specific equipment involved. A good service delivers whatever combination of formats you actually need, since getting stuck with the wrong one after paying for digitizing is a completely avoidable headache.
Why Skipping Steps Always Shows Up in the End
Rush or skip any one of these steps and it tends to show clearly once the design is actually stitched. Skip the artwork review and fine detail gets lost. Skip proper underlay and the piece puckers. Rush the color sequencing and production slows down with unnecessary thread changes eating into turnaround. This is exactly why a genuinely clean digitizing job takes real, deliberate time — even for something that looks like a simple logo on the surface.
Getting Your Own Logo Digitized
If you've got a logo ready and want it handled properly from step one, it's worth submitting your artwork for a quote, along with garment type and placement details, so the whole process gets planned accurately from the start rather than guessed at along the way.
Wrapping Up
Embroidery digitizing isn't one single action — it's a deliberate sequence of technical decisions, from artwork review all the way through underlay, density, and final file export. Knowing what's actually happening at each stage makes it a lot easier to tell a rushed, corner-cutting job apart from one that's genuinely built to hold up the first time it's stitched.