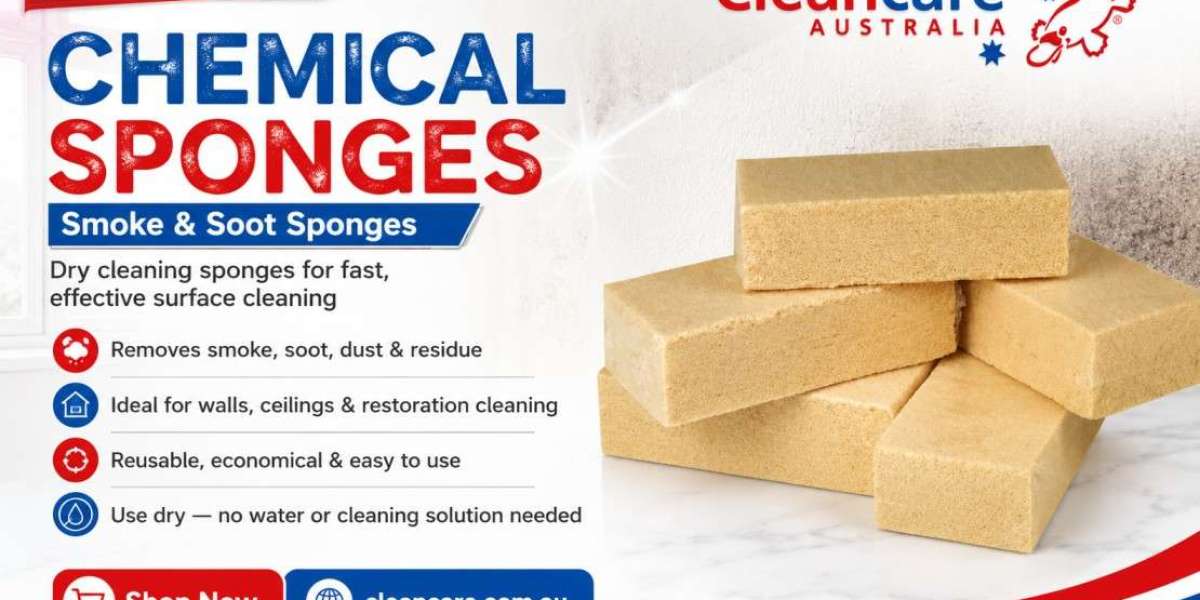

For manageable dry contamination, a suitable soot sponge handles the first stage of removal. The rest is method: work systematically, test surfaces, and know when a job has outgrown simple DIY cleaning. Here's a practical 10-point checklist.
1. Confirm the Job Suits Light Cleaning
This is for light, manageable residue — not full fire restoration. Check that the soot is limited to a small area, mainly dry and powdery, with walls and ceilings intact, no obvious electrical or structural fire damage, safe access, and a known smoke source. If contamination spans several rooms, involves damaged building materials or follows a significant fire, start with a professional assessment instead. Knowing when not to proceed is part of cleaning responsibly.
2. Inspect the Whole Room and Identify the Surface
Smoke rarely stays put, so check upper walls, the ceiling, corners, window and door surrounds and nearby furniture — the darkest patch is often only part of it. Then work out what's underneath. Painted plaster, matte or gloss paint, wallpaper and panelling don't all clean the same way, and a durable wall behaves very differently from aged wallpaper. If you can't confidently identify the material, be extra cautious and test first.
3. Protect Nearby Areas and Set Up First
Soot transfers easily. Move furniture back, protect flooring, remove decorative objects, and keep clean tools apart from dirty ones. Set up before you start — sponges, protective gear, floor protection, waste bags, clean cloths, safe access for higher areas and good lighting — so you're not wandering the property mid-job and spreading contamination.
4. Start With a Test Patch
Never begin in the middle of the most visible wall. Pick a small, hidden section, test gently, and inspect for residue transfer, smearing, paint lifting, colour change, dulling or damage. If it reacts badly, stop. A good test doesn't guarantee every area behaves the same, but it beats cleaning blind — and it matters most on older paint, wallpaper and decorative finishes.
5. Clear the Loose Dry Residue First
The most useful principle in light smoke cleanup is separating dry particulate removal from any later wet stage. A smoke and soot sponge is made to be used dry, not soaked — Cleancare describes its chemical sponge as intended to collect fine soot residue, with gentle use recommended to reduce smearing. So the first goal isn't to wash the wall; it's to lift as much loose residue as practical while keeping the process controlled.
6. Use Light Pressure and Work in Sections
More force doesn't mean more soot removed — heavy scrubbing just makes things less controlled. Use light pressure and short, deliberate passes, and stop if the residue smears. Think of the sponge as collecting particles, not scrubbing a stain. Rather than long, random sweeps across a big wall, divide it into zones — upper, centre, lower, corners and edges — and finish one before the next, keeping a consistent direction so residue isn't dragged back over cleaned areas.
7. Watch the Sponge as Closely as the Wall
Don't fixate only on the surface. As the sponge loads with soot, its face darkens, gets less effective, and can start moving residue rather than collecting it. Rotate to a clean section as needed; many sponges can also be cut into smaller pieces for detail work around corners, ceiling junctions and mouldings — use small, controlled movements there rather than forcing a loaded sponge into narrow gaps.
8. Don't Forget the Ceiling — Safely
If smoke reached the walls, check above them; lighter ceiling residue still affects how the room looks. But safe access matters. Where an affected ceiling is hard to reach or covers a large area, get professional help rather than improvising off unstable furniture. Step back from a normal distance every few sections, too — is the wall evening out, are streaks appearing, have you missed areas? This prevents needless over-cleaning.
9. Know When Dry Removal Is Done
A sponge handles loose residue, but not every dark mark will vanish. Afterwards you may still see discolouration, embedded staining or physical damage. Don't pile on pressure for a faint mark — the loose soot is likely gone and a different prep is required. Reassess before reaching for the strongest cleaner; the next stage depends on the material, finish and whether you're repainting. If you switch methods, test the new one, and never mix household chemicals unless the makers state it's safe.
10. Recognise When to Call a Professional
Treat a dry cleaning sponge as one tool in the process, not a replacement for repair, sealing, priming or professional restoration. Call in a professional when soot covers several rooms, fire damage is significant, building materials or electrical components are affected, the residue is oily or unusual, the source is uncertain, valuable surfaces are involved, odour remains severe, or your test area keeps smearing or getting damaged.
Final Thoughts
Light fire and smoke residue is far easier to manage as a checklist than a race to erase every mark. Confirm the job suits simple cleaning, inspect the whole room, identify the materials, protect the surroundings, and test before you commit. When dry soot is present, lift it gently before any wet stage, work section by section, and watch the sponge as it fills. Above all, know when to stop — a faint stain usually means the loose soot is already gone, not that you should scrub harder. For anything widespread, uncertain or severe, professional restoration is the safer next step.