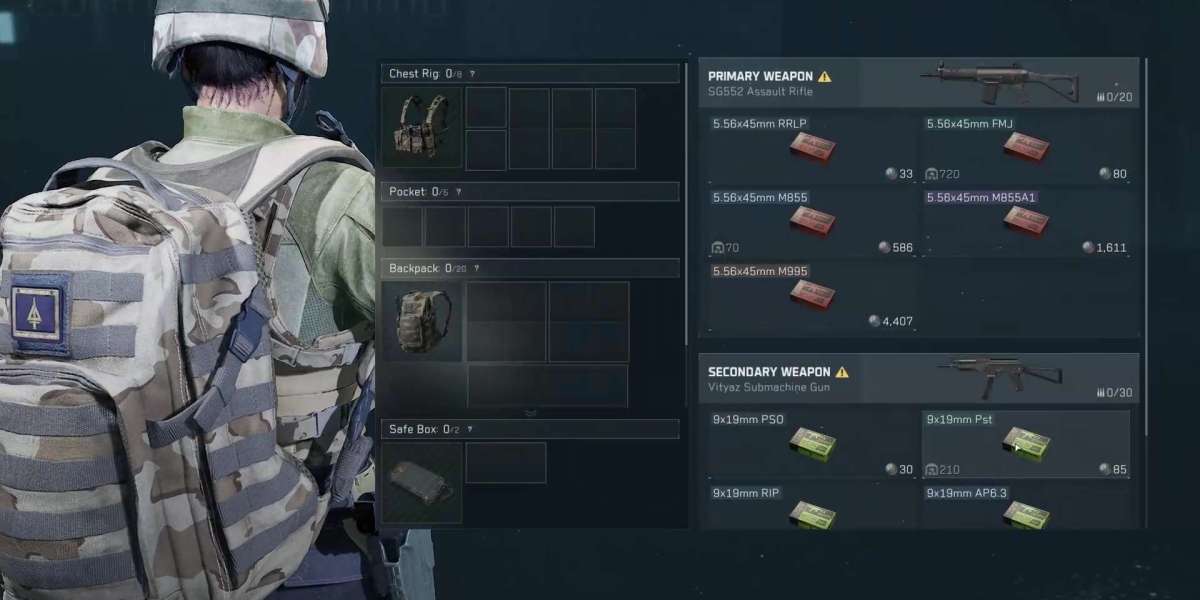
When this run kicks off, there's no time to chill. The briefing is already yelling at you, the reactor's acting up, and every squad I've seen ends up moving faster than planned. If you're stacking Delta Force Items for a better kit, this is one of those missions where it actually pays off right away.
Getting In Before the Plant Falls Apart
You drop into a power station that feels half-built and half-burning. The layout is messy in a way that makes sense after a few runs. Doors are locked, key access is split up, and the fuel control area is never as close as you want it to be. The first thing most squads do wrong is overfight. That just burns ammo and time. The smarter play is simple: move, check your route, grab the key, and keep the team together. If someone drifts off solo, they usually get punished fast.
What makes this mission stick is the pressure. The reactor warnings keep stacking up, and you can feel the tempo rising even when nothing is shooting at you. One room is clean, the next one has hostile contacts, then you hear another alert about cooling failure and suddenly everyone's talking over each other. It's not about clearing every corner like a normal PvE map. It's about knowing which fight matters and which one can be skipped.
Why Radiation Changes the Whole Pace
The radiation zones are the real headache. They don't just sit there. They spread, and that means routes you used five minutes ago may already be bad news. A lot of players ignore that early, then they start taking damage and panic push into worse spots. That's when the mission gets ugly. You really want the squad to call out contaminated halls, bad stairs, and any room that's starting to glow hot. Small stuff like that keeps the run alive.
There's also a weird rhythm to the combat. Hostiles don't always swarm in one huge wave. Sometimes they just keep coming in little bursts, which is honestly worse. You reload too early, you get caught. You hold too long, you get flanked. So yeah, short bursts of fire, quick resets, and a lot of moving between cover points. That's the loop. It sounds basic, but it works.
| Mission Pressure Point | What It Means In-Run |
|---|---|
| Reactor temperature | Forces faster objective timing |
| Radiation spread | Changes safe routes mid-mission |
| Security keys | Unlocks critical progress and loot |
| Enemy patrols | Punish slow rotations and bad spacing |
This is the part where teamwork really shows. A squad that talks cleanly will get through a mission like this a lot faster than a group with better aim and zero comms. One player watches the back line, one handles doors and keys, and another keeps eyes on the objective timer. It's not fancy. It just saves runs.
Loot Spots That Are Worth The Detour
A lot of people rush straight for extraction and miss the good stuff. Bad move, honestly. The facility hides safe rooms, supply cases, and fuel-related containers that can drop gear worth the extra minute or two. If your team already has the route under control, it makes sense to peel off for the side loot. Just don't get greedy. If the reactor alert jumps again, that crate can wait. Better to leave with solid gear than wipe over a single box.
Here's the quick stuff I'd keep in mind on repeat runs.
1. Grab the key before branching out.
2. Call radiation zones the moment they appear.
3. Don't sit still after a gunfight.
Last Push To Extraction
As the reactor hits its final stage, everything feels louder. Radio chatter gets messy, enemies push harder, and the whole team starts making quicker calls. This is where players either lock in or fold. If you've already kept your spacing clean, the exit run feels tight and manageable. If not, it turns into a scramble. Little mistakes matter here. Missed heals, bad reload timing, one bad peek. That's usually enough.
What I like most is that the mission doesn't fake its tension. It earns it. You're not just clearing rooms for the sake of it. You're trying to keep a failing facility from going fully off the rails while still grabbing whatever useful gear you can carry out. That mix is why people keep queuing it.
For players who want to stay ready without spending every night grinding, a better loadout makes a huge difference, and some even choose to buy Delta Force Tekniq Alloy so they can jump into the next reactor run with less prep and more confidence.