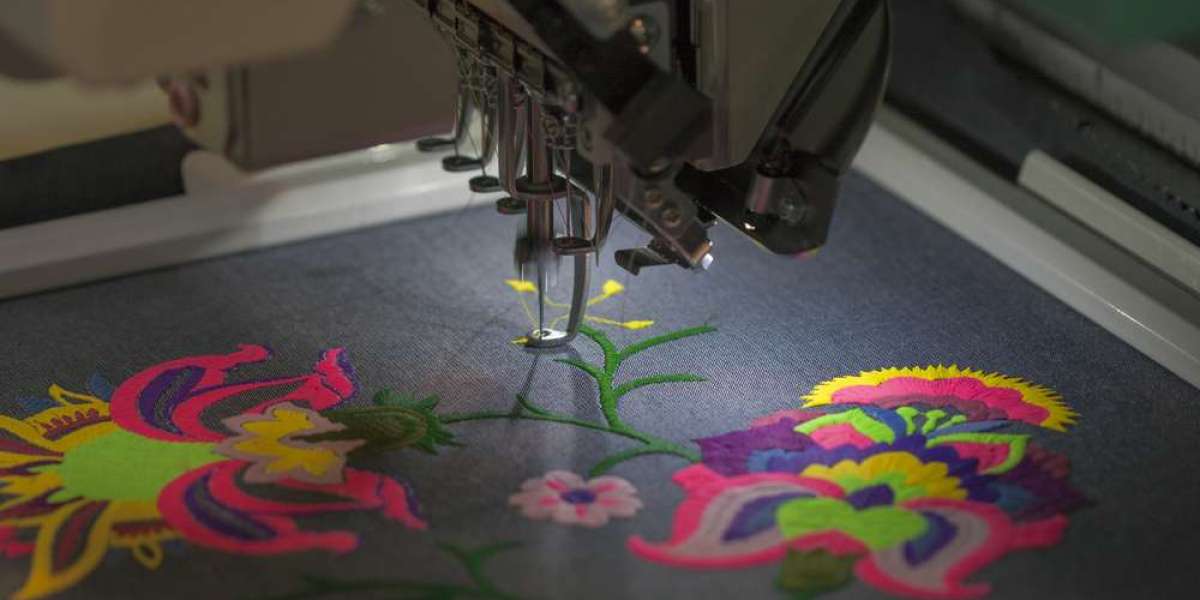

Embroidery is a beautiful and ancient art form. For a very long time, creative people did all of this work by hand. Today, we have amazing modern machines that can sew complex designs in just a few minutes. However, these electronic machines cannot read a regular picture file like a JPG or a PNG. They need a special map of instructions to guide the needle. Converting a standard picture into that special map is exactly what we call embroidery digitizing.
If you truly want to make your own custom designs, you must learn this useful skill. It takes time and patience, but it brings so much joy. Anyone can learn how to do it if they follow the right steps. Let us look at how you can start your own journey with Professional Custom Embroidery Digitizing.
What is Embroidery Digitizing?
Digitizing is very much like translating a book from one language to another. You take a digital picture and turn it into code. The electronic embroidery machine reads this code. The code tells the machine exactly where to move on a flat grid. It tells the system when to drop the sharp needle. It also tells the machine when to stop and change the thread color.
Without this custom file, your machine will not move. You cannot just plug a standard photo into the machine. The machine simply will not understand the pixels. You must map out every path. You must plan every single stitch.
How the Machine Sees Your Design
Grid Coordinates and Math
An embroidery machine does not see a pretty picture. It sees a long string of math commands. It looks at the world through a grid.
The X and Y Grid
The machine moves left, right, up, and down. It uses math points to know its place. Each point tells the hoop where to slide.
The Length of Stitches
The code tells the needle how far to jump. If the jump is too long, the thread will snag. If it is too short, the thread will bunch up.
Machine Trimming Commands
The file also contains secret codes for utility actions. These actions help keep the fabric clean.
Jump Stitches
When the machine needs to move to a new spot, it stops sewing. It moves the hoop quickly without dropping the needle.
Automatic Cuts
The file tells the machine when to slice the thread. This stops long strings from stretching across your finished work.
Why Good Digitizing Matters
If you do a poor job digitizing, your finished sew-out will look messy. The fabric might bunch up and wrinkle. The top thread might snap many times. The entire design might even shift while the machine is running.
Good digitizing makes the whole process smooth. The machine will sew fast and quiet. The design will look crisp, flat, and clean on your clothing.
Common Problems from Bad Files
Gaps in the Design
This common error happens when parts of the shape do not overlap enough. Fabric stretches while the needle hits it. If you do not plan for this movement, you will see the blank fabric peeking through the gaps.
Frequent Thread Breaks
If your stitches are too small, the needle will hit the exact same spot too many times. This creates a tight knot. The thread will shred and snap.
Puckering and Wrinkling
This means the fabric pulls tight and forms ugly wrinkles around the edges of your design. It happens when your stitch tension is too high or when you put down way too many stitches.
Tools You Need to Get Started
You do not need a massive room full of tools to start. But you do need the correct tools. Here is what you must have to begin.
A Good Computer
You need a reliable computer with a bright screen. The digitizing software has many tiny lines. You want to see each individual stitch clearly.
Using a Mouse
A standard computer mouse is much better than a laptop trackpad. A mouse gives you steady hand control. It helps you draw smooth lines and precise dots.
Digitizing Software
You can start without spending money. There are free programs built by communities.
Ink/Stitch Open Source
This is a totally free tool. It runs inside a vector drawing program called Inkscape. It is a fantastic way to try digitizing for the very first time.
Professional Software Options
Paid programs cost more money but offer automated tools that save time.
Hatch by Wilcom
Many experts love this software. It is made for beginners but includes powerful tools. You can test it for free for thirty days.
Embrilliance Software
This is another highly popular option. It runs well on both Windows and Mac computers. It has a very simple layout.
An Embroidery Machine
You need a machine to test your digital files. You cannot just trust what you see on your computer screen. You must sew the test design on real cloth. This is the only way to see if your file is actually good.
Understanding Different Stitch Types
When you digitize, you must choose how the machine fills each shape. There are three primary types of stitches that you will use for every single project.
1. The Run Stitch
A run stitch is just a single line of straight sewing. It looks exactly like the line you make when you sew by hand with a regular needle and thread. You use it for thin borders.
Small Details
It is perfect for tiny shapes like whiskers on a cat or wrinkles on a face. It keeps the design light.
Travel Stitches
You can also use run stitches to move from one part of the design to another. You hide them under larger shapes so nobody sees them.
2. The Satin Stitch
A satin stitch goes back and forth across a narrow space. It looks shiny, thick, and smooth. It is the absolute best choice for sewing text and small words.
Columns and Borders
It makes wonderful borders for patches. It wraps around raw edges and seals them tight.
Width Limits
You must watch the width of this stitch. If the satin line is too wide, the loose threads will catch on buttons or fingernails and rip out.
3. The Fill Stitch (Tatami)
Large Shapes
A fill stitch is used to cover big open spaces. It fills a large area with parallel rows of tight stitches. It looks like a tightly woven floor mat.
Background Colors
Use it for the background of a large logo. It creates a solid wall of color.
Changing the Pattern
You can alter the settings to make patterns inside the fill. It can look like bricks, waves, or feathers.
Step-by-Step Guide to Your First Design
Let us walk through the basic steps to digitize a simple shape. We will use a basic heart as our main example.
Step 1: Import Your Artwork
First, open your chosen software. Upload a clean, simple image of a heart. Make sure the digital image is the exact size you want to sew on your garment.
Step 2: Set the Stitch Direction
Stitches can run up and down, left to right, or at a sharp angle. The direction changes how light hits the shiny thread. For a heart shape, an angled stitch looks beautiful.
Step 3: Add Underlay Stitches
This is a secret trick that many beginners skip. Underlay stitches are hidden rows of thread that sew down first. They act like the concrete foundation of a house. They secure the fabric to your backing material. They keep the top decorative stitches from sinking deep into the cloth.
Step 4: Trace the Shape
Use your computer mouse to click points all around the edge of the heart. The software will connect these points with stitches. Choose a fill stitch for the inside area.
Step 5: Add a Clean Border
Use a nice satin stitch to make a clean border around the outer edge of the heart. This covers up any messy or uneven edges left by the inside fill stitch.
Step 6: Save and Export the File
Save your finished file in the exact format your machine requires. Different brands use totally different file types.
File Formats by Brand
- Brother Machines: These units require a file that ends in .PES.
- Janome Machines: These units need a file that ends in .JEF.
- Singer Machines: These units read files that end in .XXX.
Crucial Tips for True Success
Digitizing takes a lot of practice. Here are some expert tips to keep you from getting upset when you learn.
Remember Fabric Stretch
Fabric shifts when a sharp needle hits it at high speed. It pushes away and pulls together. If you digitize a perfect circle, it might turn into an ugly oval on stretchy t-shirt fabric. You must add a little bit of extra space in your file to fix this natural push and pull.
Keep Your Concepts Simple
Do not start your hobby by trying to digitize a complex pet portrait or a detailed mountain landscape. Start with simple shapes like stars, blocks, or large letters. Learn how the thread behaves on real cloth first.
Test Every Single Design
Always sew your brand-new design on a scrap piece of fabric first. Never sew a new, untested file onto an expensive jacket right away. Check the scrap fabric for gaps, thread breaks, or puckers. Fix the file on your computer if you see any errors.
Learning this amazing craft takes time and patience, but making your own custom designs feels wonderful. If you practice a little bit every single day, your skills will grow fast. If you ever feel stuck or need professional help with complex business logos, you can always look into High-Quality Custom Embroidery Digitizing Services.