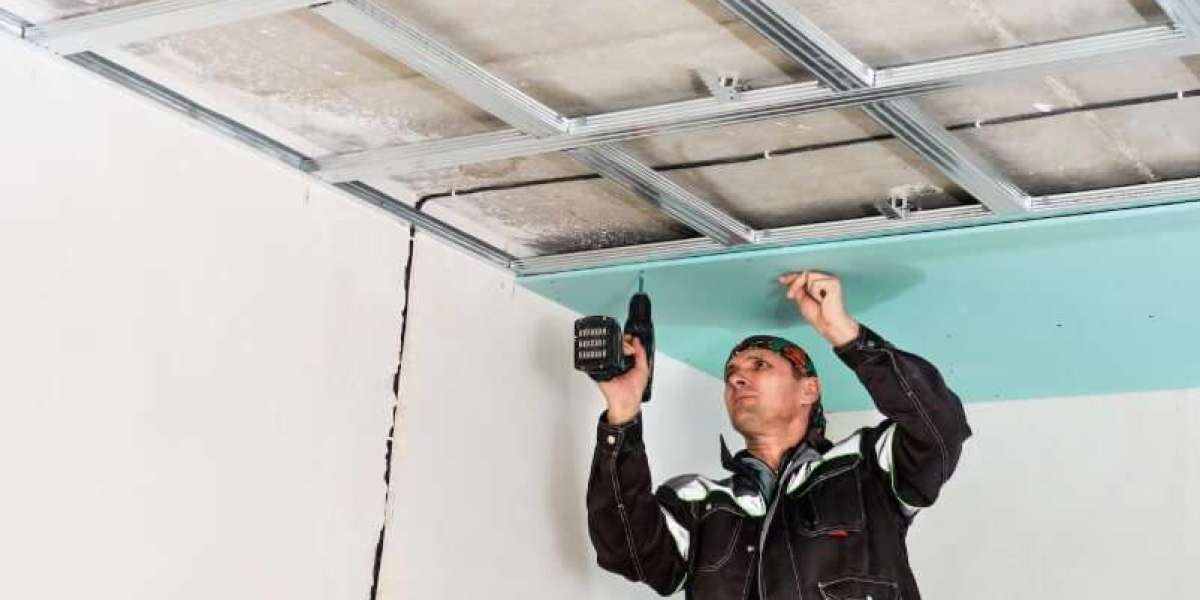
Popcorn ceilings were once a popular choice for mobile homes because they helped hide imperfections and added texture to rooms. However, over time, they can become outdated, difficult to clean, and even contain asbestos in older homes. Removing a popcorn ceiling in a double wide mobile home might seem daunting, but with the right tools, preparation, and techniques, it can transform your space into a clean, modern interior. Learn more about "How To Remove Popcorn Ceiling In Double Wide Mobile Home?"
Understanding Popcorn Ceilings
Popcorn ceilings, also known as acoustic or cottage cheese ceilings, were widely used in mobile homes built in the 1970s and 1980s. Many homeowners today choose to remove them because they collect dust, make ceilings look dated, and can lower home value. Before starting, it’s important to identify whether your popcorn ceiling contains asbestos. If your home was built before 1980, consider hiring a professional to test for asbestos to ensure safe removal.
Tools and Materials You Will Need
Removing a popcorn ceiling in a double wide mobile home requires some essential tools:
Protective goggles and dust mask or respirator
Plastic sheeting and painter’s tape
Ladder or step stool
Spray bottle filled with water
Putty knife or ceiling scraper
Joint compound and sanding block (for finishing)
Optional: Drywall repair kit
Having these tools ready will make the process smoother and minimize damage to your ceiling and walls.
Preparing Your Mobile Home
Preparation is key for a successful popcorn ceiling removal. Start by clearing the room of furniture and covering the floors with plastic sheeting. Seal vents, doors, and windows to prevent dust from spreading to other areas of your home. Wear protective gear at all times, as the ceiling material can create a lot of dust and debris.
Step-by-Step Removal Process
1. Test for Asbestos
If your ceiling was installed before 1980, perform an asbestos test before proceeding. If asbestos is present, it’s safer to hire a licensed professional for removal.
2. Soften the Ceiling
Use a spray bottle to lightly mist a small section of the ceiling with water. Allow the water to soak in for 10-15 minutes to soften the popcorn texture. Avoid oversaturating, as too much water can damage the drywall underneath.
3. Scrape the Ceiling
Use a putty knife or ceiling scraper to gently remove the softened popcorn texture. Work in small sections, scraping in a consistent direction to minimize damage.
4. Repair and Smooth
Once all the popcorn is removed, you may notice minor imperfections in the ceiling. Apply a thin layer of joint compound to fill holes or uneven areas. After it dries, sand the surface smooth for a polished finish.
5. Paint or Texture
After sanding, clean the ceiling with a damp cloth to remove dust. You can either paint the ceiling with a fresh coat of paint or apply a new texture for a modern look. Lighter colors help make the room feel larger and brighter.
Tips for a Successful Removal
Work in small sections to control water and debris.
Keep a vacuum or dust collector nearby to reduce cleanup time.
Consider using a ceiling texture sprayer for a professional finish if re-texturing.
Always follow safety precautions to protect yourself from dust and potential asbestos exposure.
Conclusion
Removing a popcorn ceiling in a double wide mobile home can be a challenging but rewarding project. With proper preparation, the right tools, and careful execution, you can transform an outdated ceiling into a smooth, modern surface that brightens your entire home. If you’re unsure about asbestos or want to ensure a flawless finish, hiring professionals from Texas Mobile Home Removal is a safe and efficient option.