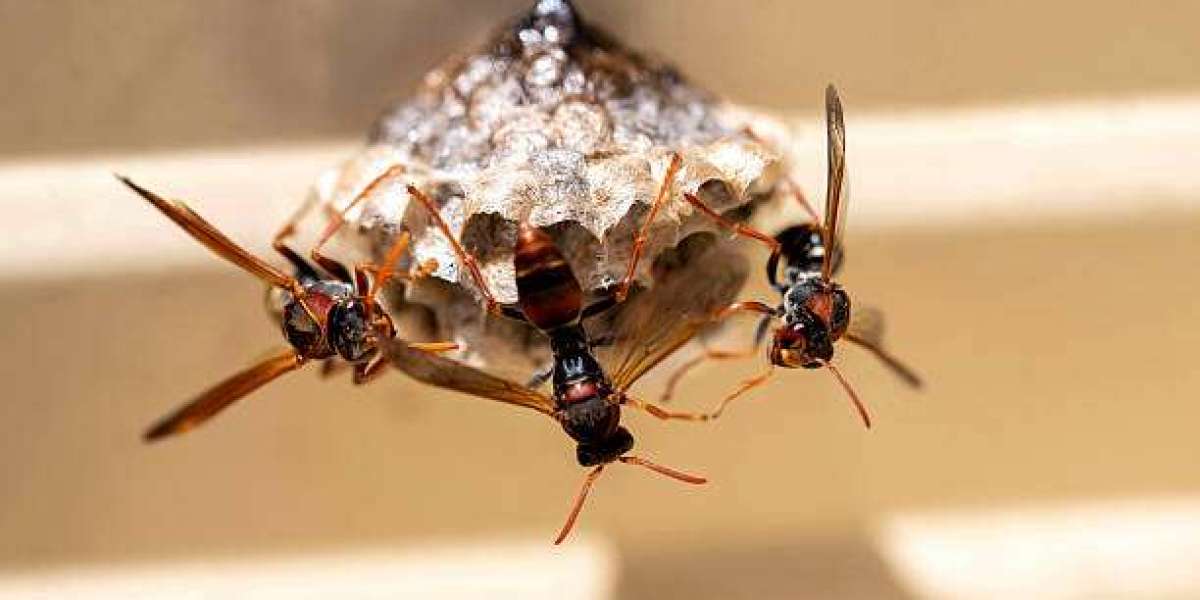

Finding a wasp or hornet nest on your property is one of those situations where the instinct to just grab a can of spray and deal with it right now can seriously backfire. Most sting incidents happen because someone skipped a few basic checks before getting close. Whether the nest is tucked under your deck, buried in the lawn, or hanging off your roofline, there are real differences in how dangerous each situation is. If you're in the area and weighing your options, Wasp and Hornet Nest Removal in Cambridge ON is something many homeowners end up calling in after a first attempt goes sideways. But before you do anything at all, here are seven things worth checking first.
1. Identify the Species Before You Get Any Closer
Not all nests are equal. Yellow jackets, bald-faced hornets, paper wasps, and European hornets all behave differently and respond to threats in completely different ways. Yellow jackets are probably the most aggressive of the bunch, especially later in summer when colonies are at peak size. Paper wasps are comparatively calmer but still sting repeatedly when they feel cornered.
Look at the nest shape and material from a safe distance. Paper wasp nests look like upside-down combs, open and honeycomb-style. Hornet nests are the big grey papery balls you see in trees or under eaves. Yellow jackets often nest underground or inside wall voids, so you might not even see the nest itself, just a lot of traffic in and out of a hole. Getting this identification right shapes everything else you do.
2. Gauge the Size and Activity Level
A small, early-season nest with a dozen workers is a very different job than a late-summer colony with thousands of insects. Size matters a lot here. Nests found in spring are usually manageable, while nests discovered in July or August can be enormous and extremely defensive.
Watch the nest from about 10 to 15 feet away for a few minutes. How much traffic is coming and going? Is there constant activity, or does it look quiet? A dormant or abandoned nest, usually found in late fall or winter, poses almost no risk since colonies don't survive the cold. If you're seeing steady movement, the colony is active and the nest is live. That changes your approach completely.
3. Locate All Entry and Exit Points First
This one gets skipped constantly. People approach the nest without knowing where the wasps are actually flying in and out, and then they accidentally block or disturb an entry point. That triggers instant swarming. Not good.
Stand back and watch the flight patterns for several minutes before moving closer. Wasps tend to follow the same routes repeatedly, which makes entry points easier to spot than you'd expect. Underground nests sometimes have two or three separate openings within a few feet of each other, so treating just one and missing the others means the colony stays very much intact. Mark what you find. Don't approach until you've got a clear picture of where the traffic is moving.
4. Take an Honest Look at Your Protective Gear
Most people think a long-sleeved shirt and some gloves are enough. They're not. Wasps find gaps, and they're fast about it. Loose cuffs, open collars, untucked shirts, and regular shoes without socks all become entry points for stings the moment the colony gets agitated.
Proper gear for DIY removal means a full bee suit or at minimum a jacket with taped cuffs, gloves that overlap the sleeves, closed footwear with socks pulled up, and face protection that doesn't just cover your eyes but your whole head. If you don't have all of that on hand, honestly, that's already a reason to reconsider doing this yourself. One sting in the face or throat is a medical emergency for some people, and it can happen faster than you think.
5. Check for Satellite Nests Nearby
Here's something most homeowners miss entirely. Some species, especially yellow jackets, will establish secondary nests within a short distance of the main colony. You remove the big nest, feel good about it, and then three weeks later you've got another infestation. That's usually because a satellite nest was already there and you didn't know it.
Before treating anything, do a slow walk of the surrounding area. Check under deck boards, around fence posts, in low shrubs, along the base of the house, and near any ground-level holes. If you find Pestxterminators mentioned in local forums or review threads, it's usually in the context of people who called after finding a second nest they didn't know about. Covering the full perimeter is worth the time. Hornet Nest Removal in Cambridge ON done properly always includes checking for satellites, not just treating the obvious nest.
6. Assess the Nest Location Carefully
Location changes everything about how removal should be handled. A nest hanging from a low branch is a very different job than one inside a wall void or deep underground. Each location type carries its own set of risks and requires a different removal method.
Wall voids are especially tricky because spraying into them can push wasps further inside the structure or into living spaces. Underground nests need the entry treated at the right time of day, usually dusk, when most workers are inside. High nests in trees create a fall risk on top of the sting risk. Roof eaves often mean you're working on a ladder while agitated wasps are flying at your face. According to research on yellowjacket behavior, colonies in enclosed spaces tend to respond more aggressively to disturbance than those in open-air nests. That context matters when you're deciding how to proceed.
7. Know When the Inspection Itself Is Telling You to Call a Pro
Sometimes you do all the right checks and the answer you get back is: don't do this yourself. There are a few clear signals. A nest larger than a softball, especially late in the season, means tens of thousands of stings are possible if things go wrong. Aggressive behavior during your observation, like wasps flying toward you before you've even gotten close, is a serious warning sign.
Structural access issues are another one. If the nest is inside a wall, under flooring, or in a space you can't safely reach, DIY removal creates more problems than it solves. And if anyone in your household has a known allergy to stings, that alone is reason enough to hand it off. Wasp and Hornet Nest Removal in Cambridge ON handled by a licensed pest control company means the right chemicals, the right timing, and a follow-up check to make sure the colony is fully gone. Sometimes that's just the right call. Hornet Nest Removal in Cambridge ON especially, given how large those colonies can get by midsummer, is one situation where professional help pays for itself pretty fast.
Frequently Asked Questions
Can I remove a wasp nest at night when they're less active?
Yes, dusk or early evening is generally the safest window for DIY removal because most workers are back inside the nest. But night removal doesn't eliminate the risk, it just reduces it a bit. You still need full protective gear, and you need to know exactly where all entry points are before you start.
How do I know if a nest is abandoned?
An abandoned nest has zero activity. No wasps flying in or out, no movement on the surface, and no buzzing when you listen nearby. This is most common in late fall or winter. If it's summer and you see even a handful of insects near the nest, it's active.
Is it safe to knock down a small paper wasp nest?
A very small nest with only a few cells and two or three wasps can sometimes be knocked down at night with a quick hit and a long stick, but even small nests carry sting risk. If the nest is near a doorway or play area, treating it first with a wasp spray before knocking it down is a much safer approach.
What should I do if I get stung multiple times during removal?
Get away from the area fast and get inside. Remove any stingers by scraping sideways with a card or your fingernail, don't squeeze them. Apply a cold pack to reduce swelling. If you're experiencing difficulty breathing, swelling in the throat, or dizziness, call emergency services immediately. Multiple stings can cause reactions even in people without known allergies.
How long after treatment before a nest is safe to remove physically?
Most pest control products need 24 to 48 hours to fully work through the colony. After that window, if there's no activity at all, the nest can usually be bagged and removed safely. Don't rush it. Checking again after 72 hours before touching the nest is a smart habit, especially for larger colonies.
Taking 20 minutes to run through these checks before you do anything else can be the difference between a clean, safe removal and a trip to urgent care. Slow down, look carefully, and be honest about what you're dealing with.